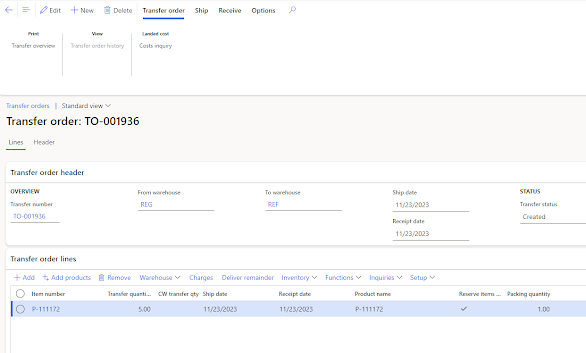
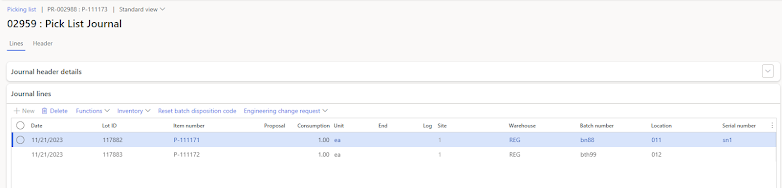
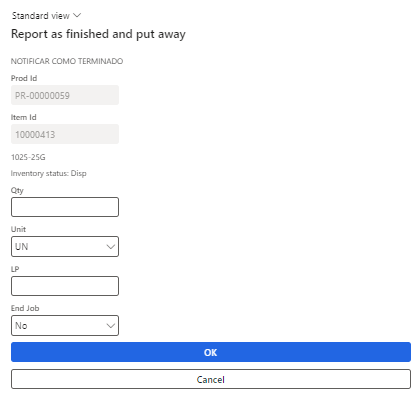
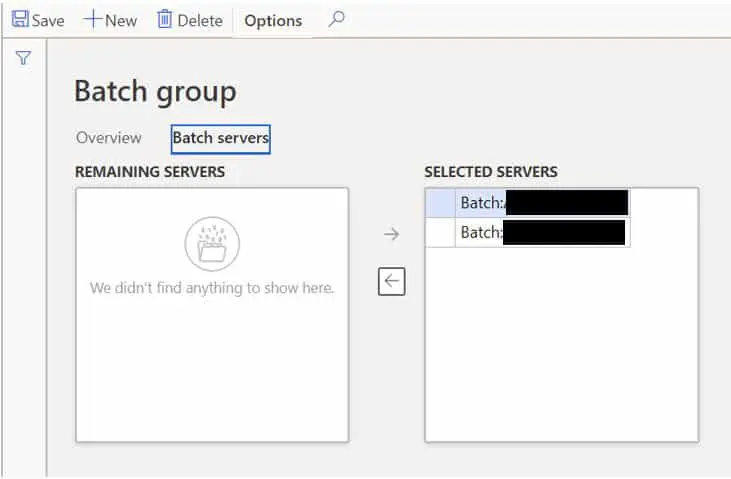
In questo post vediamo come creare una form selezione / deselezione, come quelle che c'è sui batch group per esempio:
La form inoltre avrà anche un campo per poter filtrare il nome degli elementi
Per creare queste form AX mette disposizione l'oggetto "
SysListPanelRelationTableCallback"
Allo scopo occorrono 3 Tabelle:
1) Anagrafica dei gruppi (LILGroupTable)
2) Anagrafica degli elementi che assegneremo di volta in volta ai gruppi (LILElementTable)
3) Tabella che contiene il legame (LILGroupElementTable), che sarà interemente gestita tramite l'oggetto "SysListPanelRelationTableCallback"
Ogni elemento inoltre potrà appartenere contemporaneamente a più di un gruppo alla volta.
Le tre tabelle saranno così fatte:


Definiamo a questo punto una nuova form con il seguente design:
E che conterrà il seguente codice:
 [Form]
 class LILGroupElementInfo extends FormRun
 {
   SysListPanelRelationTableCallback sysListPanel;
   Num                groupId;
   Description            elementNameFilter;

   public void close()
   {
     sysListPanel.finalize();
     super();
   }

   void init()
   {
     #ResAppl

     sysListPanel = SysListPanelRelationTableCallback::newForm(element,
                element.controlId(formControlStr(LILGroupElementInfo, ListPanelGroup)),
                "@SYS113180", "@SYS78228", #ImageUser,
                tablenum(LILGroupElementTable),
                fieldnum(LILGroupElementTable, ElementId),
                fieldnum(LILGroupElementTable, GroupId),
                tablenum(LILElementTable),
                fieldnum(LILElementTable, ElementId),
                [fieldnum(LILElementTable, ElementId), fieldnum(LILGroupTable, Description)],
                fieldNum(LILElementTable, Description), '',
                identifierstr(Validate), '', '');
     sysListPanel.parmDataRangeAsFilter(true);

     super();

     sysListPanel.init();
   }

   public edit str elementNameFilter(boolean _set, str _elementName)
   {
     if (_set && _elementName != elementNameFilter)
     {
       elementNameFilter = _elementName;
     }

     return elementNameFilter;
   }

   void tabChanged(int fromTab, int toTab)
   {
     #define.TabGroups(1)
     #define.TabGroupElement(2)

     groupId = LILGroupTable.GroupID;
     switch (toTab)
     {
       case #TabGroups:
         break;
       case #TabGroupElement:
         sysListPanel.parmDataRangeValue(elementNameFilter ? elementNameFilter : '*');
         sysListPanel.parmRelationRangeValue(LILGroupTable.GroupID);
         sysListPanel.parmRelationRangeRecId(LILGroupTable.RecId);
         sysListPanel.fill();
         break;
     }
   }

   boolean validate(userId _userId, AddRemove _addRemove, SysListPanelRelationTable _listViewHandler)
   {
     return true;
   }

   [DataSource]
   class LILGroupTable
   {
     public boolean validateWrite()
     {
       boolean ret;

       str leftTrimedGroupId;
       str rightTrimedGroupId;

       leftTrimedGroupId = strltrim(LILGroupTable.GroupID);
       rightTrimedGroupId = strrtrim(leftTrimedGroupId);

       LILGroupTable.GroupID = rightTrimedGroupId;

       ret = super();

       return ret;
     }

     int active()
     {
       int ret;

       ret = super();
       element.elementNameFilter(true, '');
       element.tabChanged(0, tab.tab());
       return ret;
     }

   }

   [Control("Tab")]
   class Tab
   {
     void tabChanged(int fromTab, int toTab)
     {
       element.tabChanged(fromTab, toTab);
       super(fromTab, toTab);
     }

   }

   [Control("TabPage")]
   class Groups
   {
     public boolean allowPageDeactivate()
     {
       boolean ret;

       ret = super();

       if (!LILGroupTable.RecId)
       {
         if (LILGroupTable_ds.validateWrite())
           LILGroupTable.write();
         else
           return false;
       }

       return ret;
     }

   }

   [Control("Button")]
   class FilterButton
   {
     public void clicked()
     {
       super();

       sysListPanel.parmDataRangeValue(elementNameFilter ? elementNameFilter : '*');
       sysListPanel.fill(true);
     }

   }

 }
Il risultato sarà il seguente:
Se vogliamo creare una form di selezione / deselezione più semplice con un solo tab, l'oggetto da usare è il
SysListPanel. Supponiamo di voler aggiungere ai parametri fornitori una tab dove poter selezionare / deselezionare le delivery mode:
1) Creare una tabella che conterrà i valori selezionati che chiameremo LILDlvModeAssociation così fatta:
2) Estendere la classe sysPanel così:
 public final class LILSysListPanel_VendDlvModeAssociation extends SysListPanel
 {
   public void addData(container _data)
   {
     int                 i;
     LILDlvModeAssociation        relation;
     DlvMode               dlvMode;

     for (i = 1; i <= conlen(_data); i++)
     {
       relation.DlvModeRecId       = conpeek(_data, i);
       relation.DlvModeId         = DlvMode::findRecId(relation.DlvModeRecId).Code;

       relation.insert();
      }
   }

   public container getData()
   {
     container                selectedData;
     container                availableData;
     LILDlvModeAssociation          relation;
     DlvMode                 dlvMode;

     while select TableId from relation
       join RecId, Code from dlvMode
       where dlvMode.RecId == relation.DlvModeRecId
     {
       selectedData += [[dlvMode.RecId, dlvMode.Code]];
     }

     while select RecId, Code from dlvMode
       order by Code
       notexists join relation
         where relation.DlvModeRecId == dlvMode.recId
     {
       availableData += [[dlvMode.RecId,dlvMode.Code]];
     }

     return [availableData, selectedData];
   }

   public int numOfColumns()
   {
     return 2;
   }

   public void removeData(container _data)
   {
     int                 i;
     RefRecId      dlvModeRecId;
     LILDlvModeAssociation relation;

     for (i = 1; i <= conlen(_data); i++)
     {
       ttsBegin;
       dlvModeRecId = conpeek(_data, i);
       delete_from relation
         where relation.DlvModeRecId    == dlvModeRecId;
       ttsCommit;
     }
   }

   public static LILSysListPanel_VendDlvModeAssociation construct()
   {
     return new LILSysListPanel_VendDlvModeAssociation();
   }

   internal static SysListPanel newForm(FormRun _formRun,
                     int   _parentId)
   {
     LILSysListPanel_VendDlvModeAssociation  sysListPanel = LILSysListPanel_VendDlvModeAssociation::construct();

     sysListPanel.parmFormRun(_formRun);
     sysListPanel.parmParentId(_parentId);
     sysListPanel.parmCaptionSelected("@SYS113180");
     sysListPanel.parmCaptionAvailable("@SYS179894");
     sysListPanel.parmHasAddAllButton(true);
     sysListPanel.parmHasRemoveAllButton(true);
     sysListPanel.parmHasUpDownButton(true);
     sysListPanel.build();

     return sysListPanel;
   }

   protected FormListSort sortMethod()
   {
     return FormListSort::NoSort;
   }

 }
3) Create l'estensione della VendParameters aggiungendo un nuovo tab. Il nuovo tab và laciato vuoto perchè sarà poi gestito dalla classe che abbiamo creato al passo 2
4)Fare la CoC sulla form VendParameters:
 [ExtensionOf(formStr(VendParameters))]
 final class LILVendParameters_Form_Extension
 {
   public LILSysListPanel_VendDlvModeAssociation    sysListPanelDlvMode;

   public LILSysListPanel_VendDlvModeAssociation parmSysListPanel(LILSysListPanel_VendDlvModeAssociation _sysListPanelDlvMode = sysListPanelDlvMode)
   {
     sysListPanelDlvMode = _sysListPanelDlvMode;
     return sysListPanelDlvMode;
   }

   public void init()
   {
     next init();

     this.initListPanels();
   }

   protected void initListPanels()
   {
     sysListPanelDlvMode.init();
     sysListPanelDlvMode.fill();
   }

 }
NB: Se stiamo aggiunendo il controllo in extension come in questo caso, come riportato quì:
L'inizializzazione della classe LILSysListPanel_VendDlvModeAssociation và fatta sottoscrivendo l'evento "Initializing" altrimenti il controllo non viene visualizzato correttamente nella form. Questo vale anche per "SysListPanelRelationTableCallback" usato in precedenza. Si veda come esempio la classe standard SimulationJournalGroupForm_ApplicationSuite_Extension
5) Creiamo la classe EventHandler:
 class LILVendParametersFormEH
 {
   [FormEventHandler(formStr(VendParameters), FormEventType::Initializing)]
   public static void VendParameters_OnInitializing(xFormRun sender, FormEventArgs e)
   {
     FormRun fr = sender as FormRun;
     LILSysListPanel_VendDlvModeAssociation sysListPanelDlvMode = LILSysListPanel_VendDlvModeAssociation::newForm(fr, fr.controlId(formControlStr(VendParameters, LILDlvMode)));

     fr.parmSysListPanel(sysListPanelDlvMode);
   }
 }